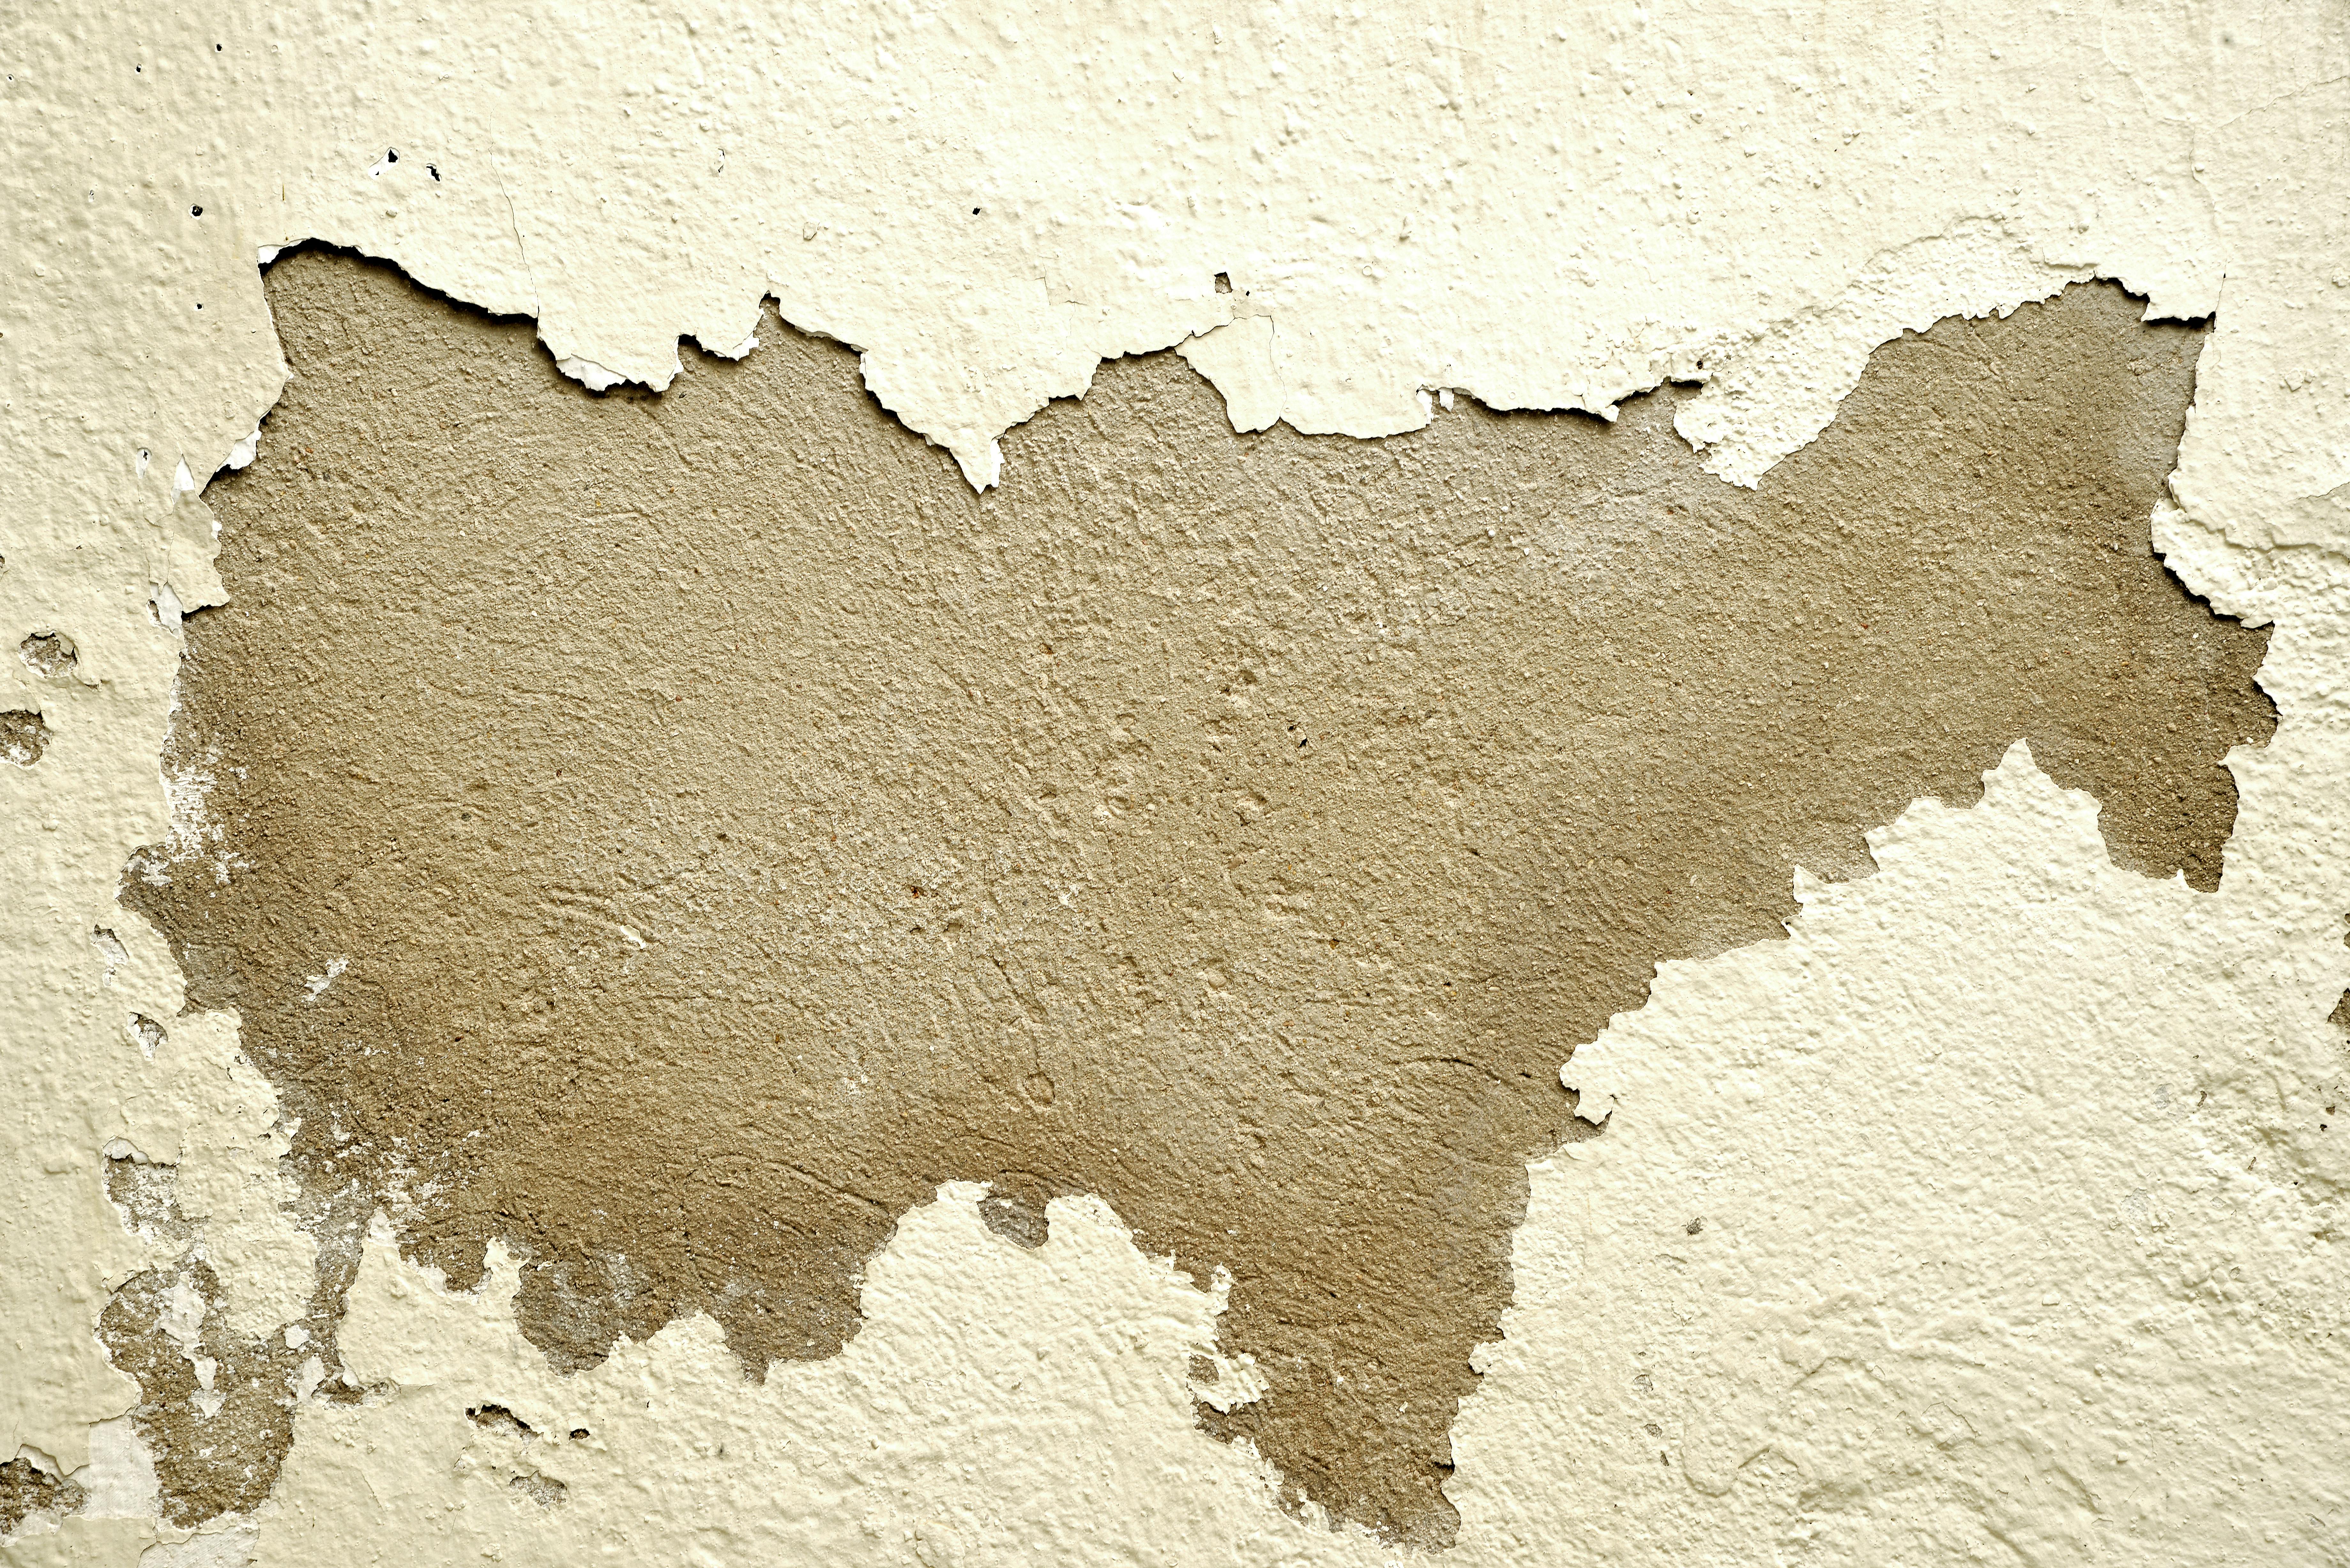
Moisture damage to plasterboard is a common issue that can compromise the structural integrity and aesthetic appeal of your walls. Whether due to a leaking roof, plumbing issues, or high humidity levels, addressing moisture damage promptly and effectively is crucial. With the right techniques and materials, fixing moisture-damaged plasterboard can be a manageable task, even for those without extensive renovation experience. This guide will delve into the expert strategies and step-by-step processes to restore your plasterboard to its original condition.
Identifying the Extent of Damage
Before beginning any repair process, it is essential to assess the extent of the damage. This involves:
- Inspecting for discoloration, bulging, or soft spots on the plasterboard.
- Checking surrounding areas for mold growth or musty odors.
- Evaluating the underlying cause of the moisture problem to prevent future occurrences.
For more detailed insights on identifying moisture damage, discover expert strategies here.
Preparing for Repairs
Tools and Materials Needed
- Utility knife or jab saw
- Plasterboard patch or replacement sheet
- Joint compound and plaster tape
- Sandpaper or sanding block
- Primer and paint
Ensuring all tools and materials are ready will streamline the repair process and mitigate any interruptions. Learn about our tailored solutions for acquiring quality materials.
Step-by-Step Repair Process
1. Remove the Damaged Section
Using a utility knife or jab saw, carefully cut out the damaged section of the plasterboard. Ensure the cut is made into healthy, dry areas to prevent further damage.
2. Install the Replacement Patch
Measure the cut-out area and cut a plasterboard patch of the same size. Fit the patch into the hole, ensuring it sits flush with the existing wall surface.
3. Secure and Blend the Patch
- Apply plaster tape over the seams where the patch meets the original plasterboard.
- Spread a layer of joint compound over the tape, feathering it out to blend with the wall surface.
- Allow the compound to dry completely.
Once dry, sand the area smoothly to ensure a seamless finish. Explore advanced guides and tips for perfect blending techniques.
4. Prime and Paint
Apply a coat of primer to the repaired area to seal the joint compound and prepare it for painting. Once the primer is dry, paint the area to match the rest of the wall. This step ensures a flawless and cohesive appearance.
Preventing Future Moisture Damage
To safeguard against future moisture issues:
- Regularly inspect roofs and plumbing for leaks.
- Ensure proper ventilation in high-humidity areas.
- Consider waterproofing solutions for vulnerable areas.
For comprehensive tips on preventing moisture damage, find out more about this approach.
By following these professional steps and employing the right materials, fixing moisture-damaged plasterboard becomes a manageable task. With careful assessment and preparation, the restoration process can not only restore the aesthetic quality of your spaces but also enhance their longevity. For more in-depth guidance and solutions, refer to the available resources and expert advice.